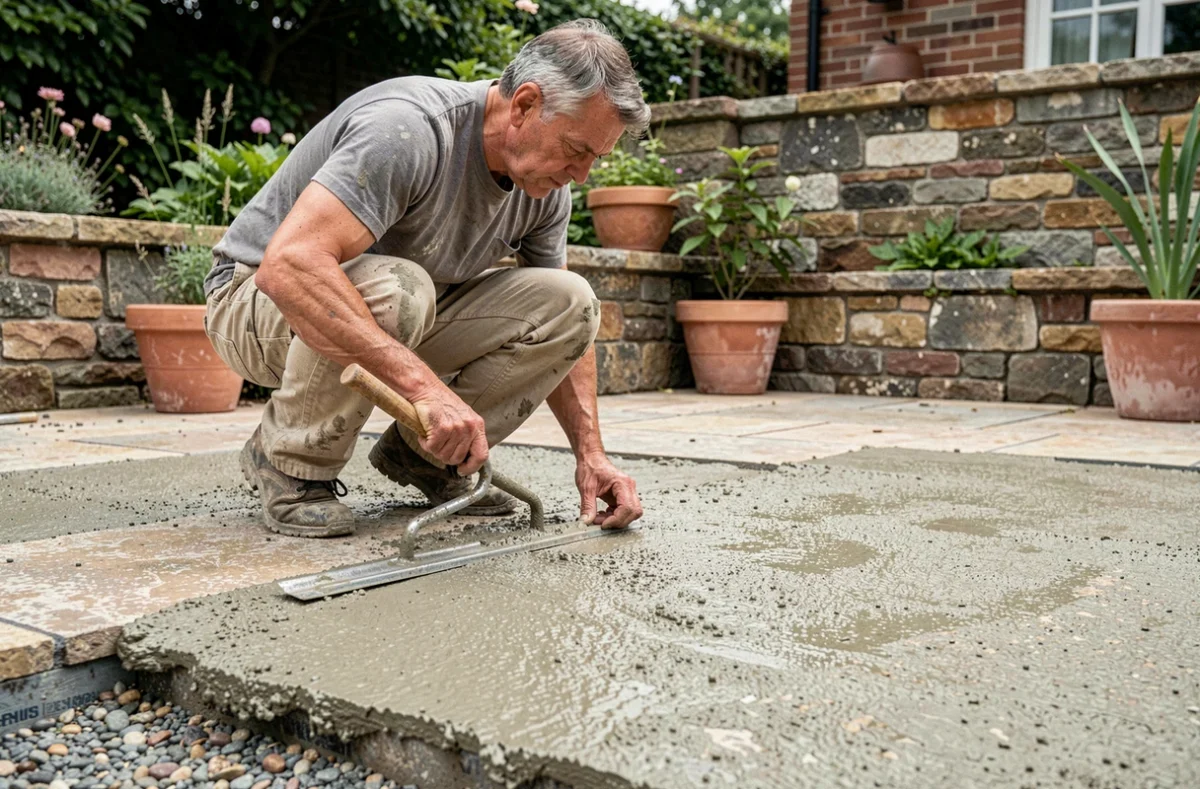
Installing tiles on a terrace, in a garage, or at the bottom of a walk-in shower starts with the same step: pouring a properly dosed lean screed. The dosage of lean screed for outdoor use does not follow a unique recipe, because the constraints differ radically from one substrate to another. Frost, the weight of a vehicle, drainage slope: each situation imposes its own proportions of cement, sand, and water.
Why the moisture content of the sand changes everything in your mix
Before even discussing the cement-sand ratio, a parameter often overlooked skews the dosages: the moisture of the sand. Sand stored outside under a tarp after rain contains much more water than dry sand delivered in a big bag.
Why does this matter? Because the water already present in the sand adds to the water you pour into the concrete mixer. The result: a mortar that is too liquid, which loses strength once dry. The screed cracks, and the tiles come loose.
To check, take a handful of sand and squeeze it. If it stays compacted without water oozing between your fingers, the sand is moist but usable. If water flows out, reduce the amount of mixing water. If the sand flows between your fingers like flour, it is dry, and you can follow the dosage of lean screed for outdoor use as indicated in the standard proportions.
Adjusting the water to the sand, not the other way around, avoids most cracks. This is a reflex that many DIYers acquire after an initial failure.
Lean screed dosage for terrace: resisting frost and thermal variations
An outdoor terrace undergoes freeze-thaw cycles that no indoor room experiences. Water that seeps into an underdosed screed expands when frozen, then micro-cracks the mortar. Over the winters, the tiles lift.
For a terrace, the proportion of cement must be higher than indoors. We move from a classic ratio (about 1 volume of cement to 5 of sand) to a richer mix, around 1 volume of cement to 4 volumes of 0/4 sand. This fine-grained sand ensures good coverage of the grains by the cement.
Thickness also plays a direct role. A screed that is too thin on an outdoor slab lacks mass to absorb expansions. Plan for sufficient thickness so that the screed remains bonded to the slab, following the recommendations of the cement manufacturer used.
- Use clean 0/4 sand, free from soil and plant debris, to ensure the adhesion of the mortar.
- Place a polyethylene film between the slab and the screed if you want a decoupled screed, which limits moisture rise.
- Wait for the outdoor temperature to exceed a few degrees above zero before pouring, as cement does not set properly in freezing weather.
Lean screed for walk-in shower: slope matters as much as dosage
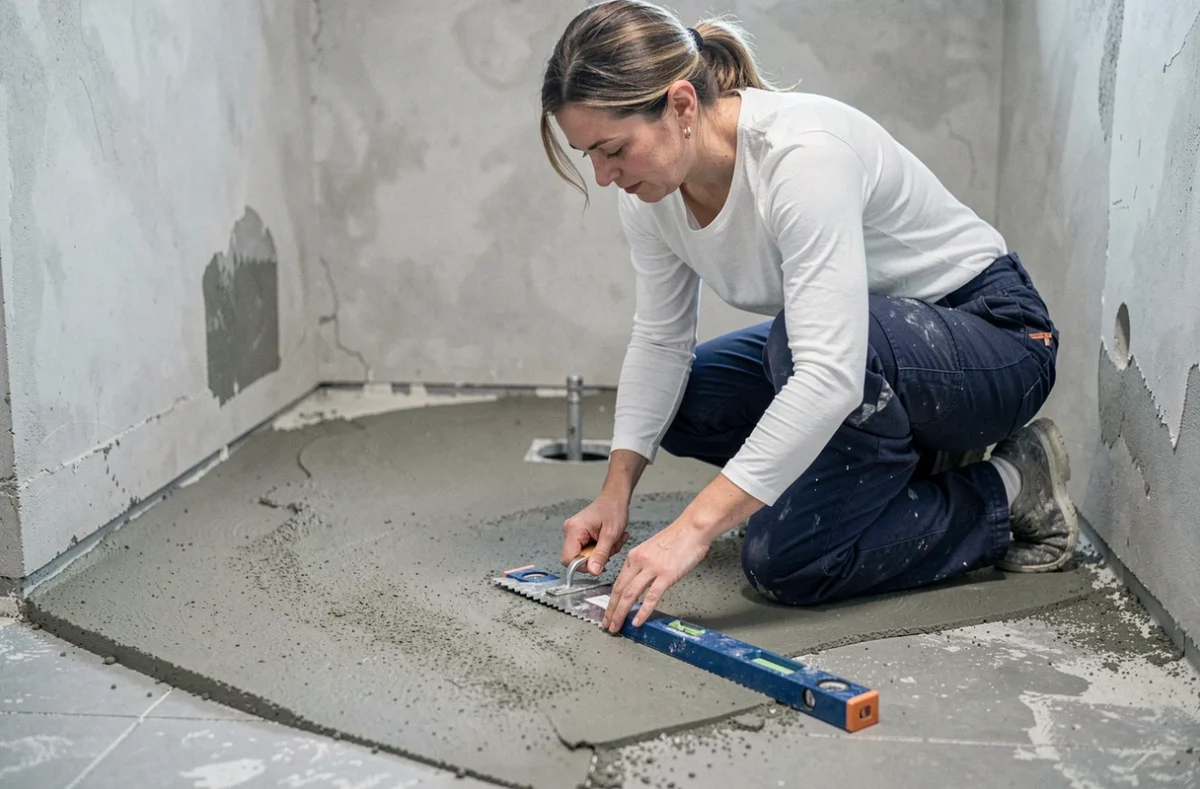
In a walk-in shower, the lean screed serves two functions. It levels the floor and creates the slope towards the drain to evacuate water. Without the correct slope, water stagnates and eventually seeps under the tiles.
The dosage remains close to that of a standard interior, around 1 to 5, because the screed is not exposed to frost. What changes is the implementation. The screed must be pulled to the rule following slope guides directed towards the drainage.
A point that many tutorials gloss over: the dosage of the screed does not guarantee the waterproofing of the shower. The Quality Construction Agency reports frequent issues around drains and at the floor-wall junctions. A waterproofing membrane under the tiles (like SPEC or similar) is necessary, applied continuously from the floor up to a certain height on the walls.
Are you renovating an apartment on an upper floor? Check the available height under the floor. You need to accommodate the drainage pipe with its own slope to the column. If the reservation is insufficient, the sloped screed will not solve the drainage problem. An on-site diagnosis before breaking anything avoids unpleasant surprises.
Lean screed dosage for garage: support the weight of a vehicle without cracking
A garage bears heavy point loads. Each car wheel concentrates weight on a small surface. An underdosed screed punctures, meaning it sinks locally under the load.
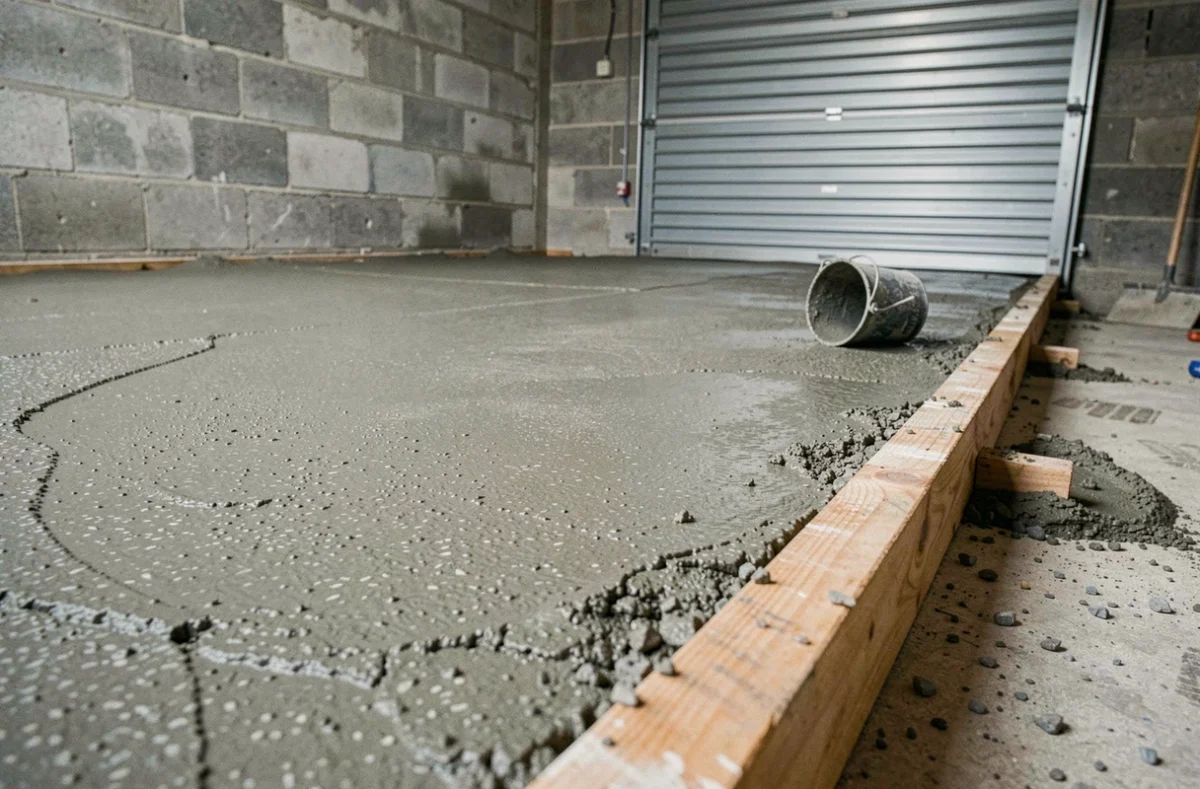
For a garage, the cement dosage approaches the high end of the range, similar to that of a terrace, or even slightly higher. The ratio of 1 to 4 is a minimum. Some professionals add polypropylene fibers to the mix to limit shrinkage cracking, which occurs during drying.
The thickness of the screed in a garage should be more generous than for a simple living room. A screed that is too thin on a garage slab behaves like an eggshell under the weight of the vehicle.
- Moisten the slab before pouring the screed to prevent the dry concrete from sucking water from the fresh mortar, which would weaken the setting.
- Compact the screed as you pull it to the rule, without leaving air pockets.
- Respect the complete drying time before driving on it or laying a covering, or you risk permanently marking the surface.
The ball test to check the consistency of the mortar
Whatever the use, the final consistency of the mix determines the quality of the screed. A mortar that is too dry is difficult to pull and leaves voids. Too wet, it flows and loses strength.
Form a ball of mortar in your hand and squeeze. If it holds its shape without crumbling and without water seeping between your fingers, the consistency is good. This is the so-called “snowball” test, simple and reliable.
If the ball crumbles, add a trickle of water. If it sticks and drips, add sand. This action takes a few seconds and is better than any approximate volumetric doser.
Outdoors as well as indoors, a well-dosed lean screed is easily pulled to the rule and retains its shape once compacted. If you have to force it to spread or if it collapses as soon as you remove the rule, the mix is not right. Correct it before continuing, not after.